Welcome to Relis!
This guide walks you through the basics of Relis in four simple steps.
Estimated time: about 5 minutes
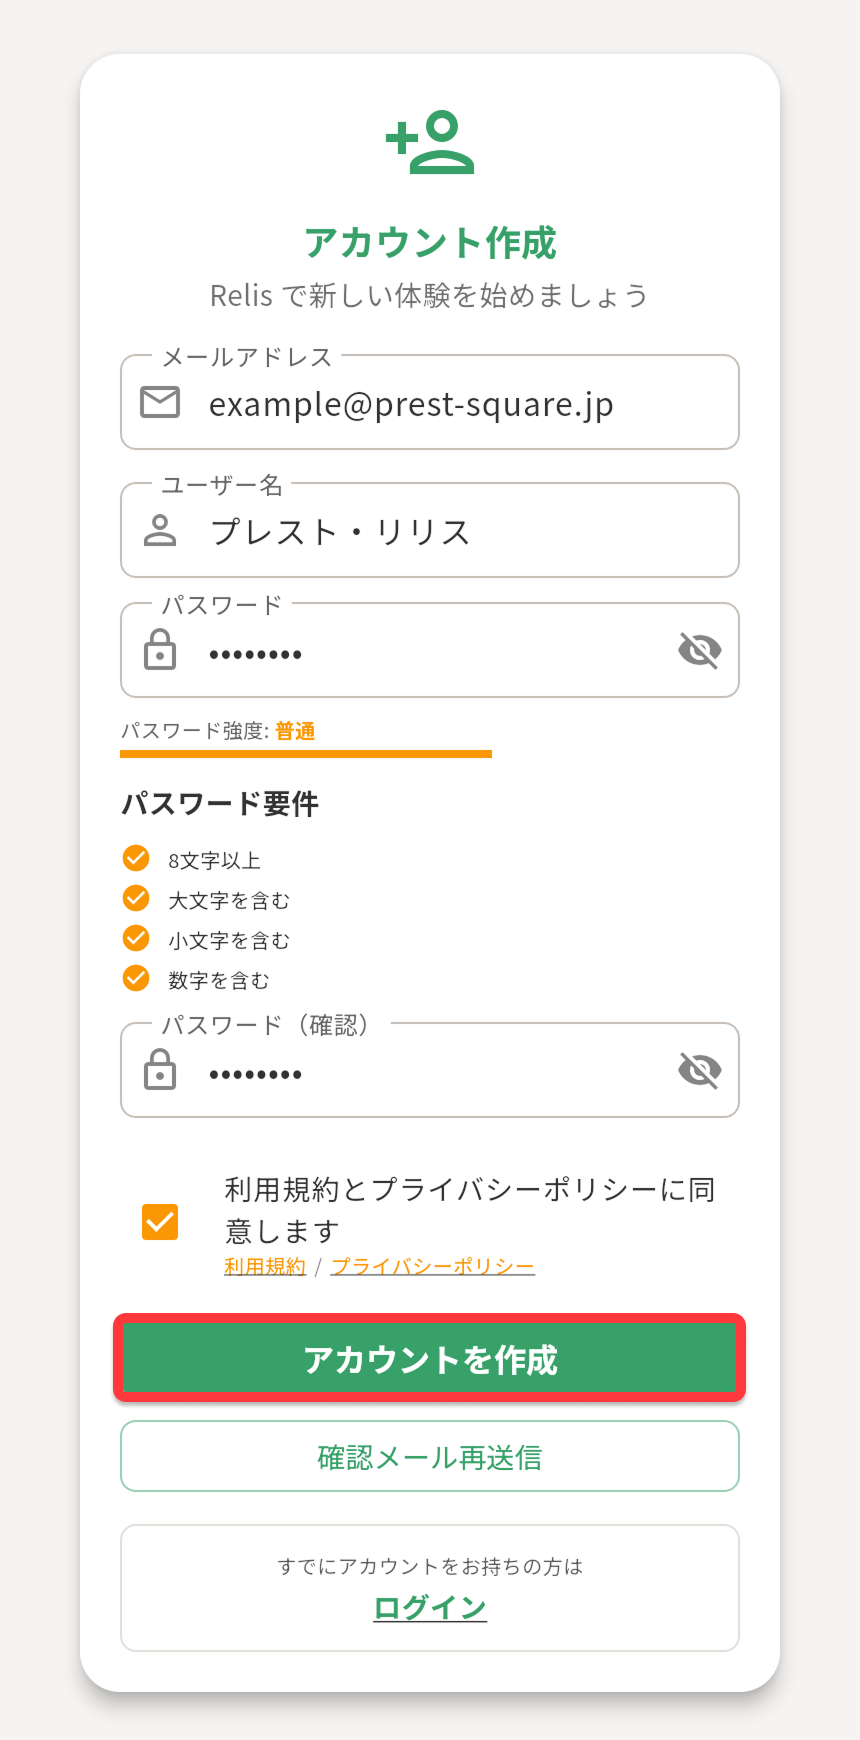
Create an Account
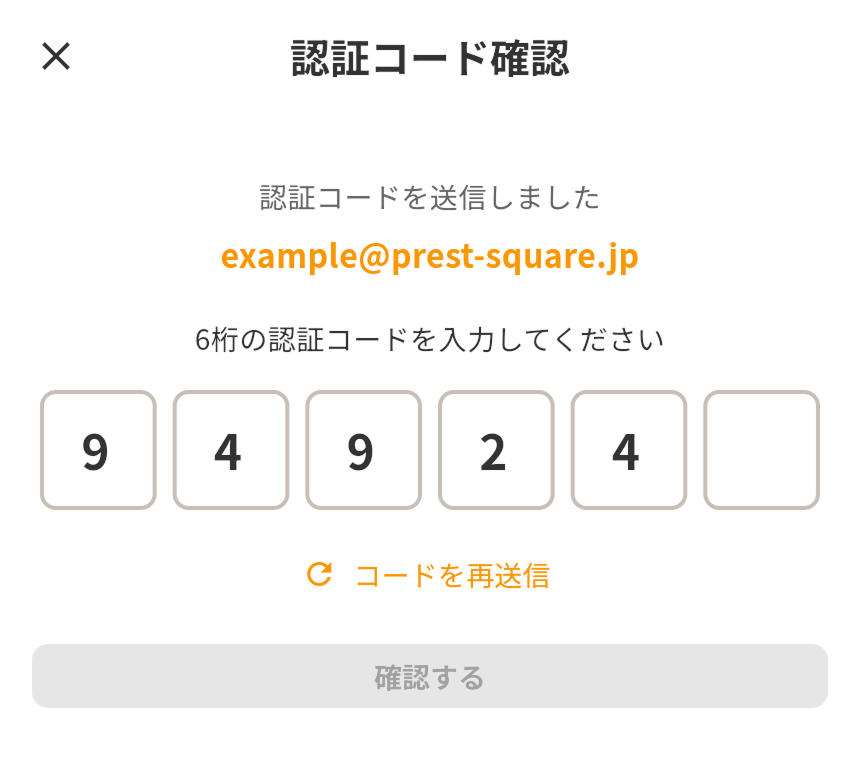
When you first launch the app, create an account. You can sign up with an email address or start with an anonymous account.
Steps
- Launch the app and tap "Create Account"
- Enter your email address and password (or tap "Start Anonymously")
- Tap "Register" to finish
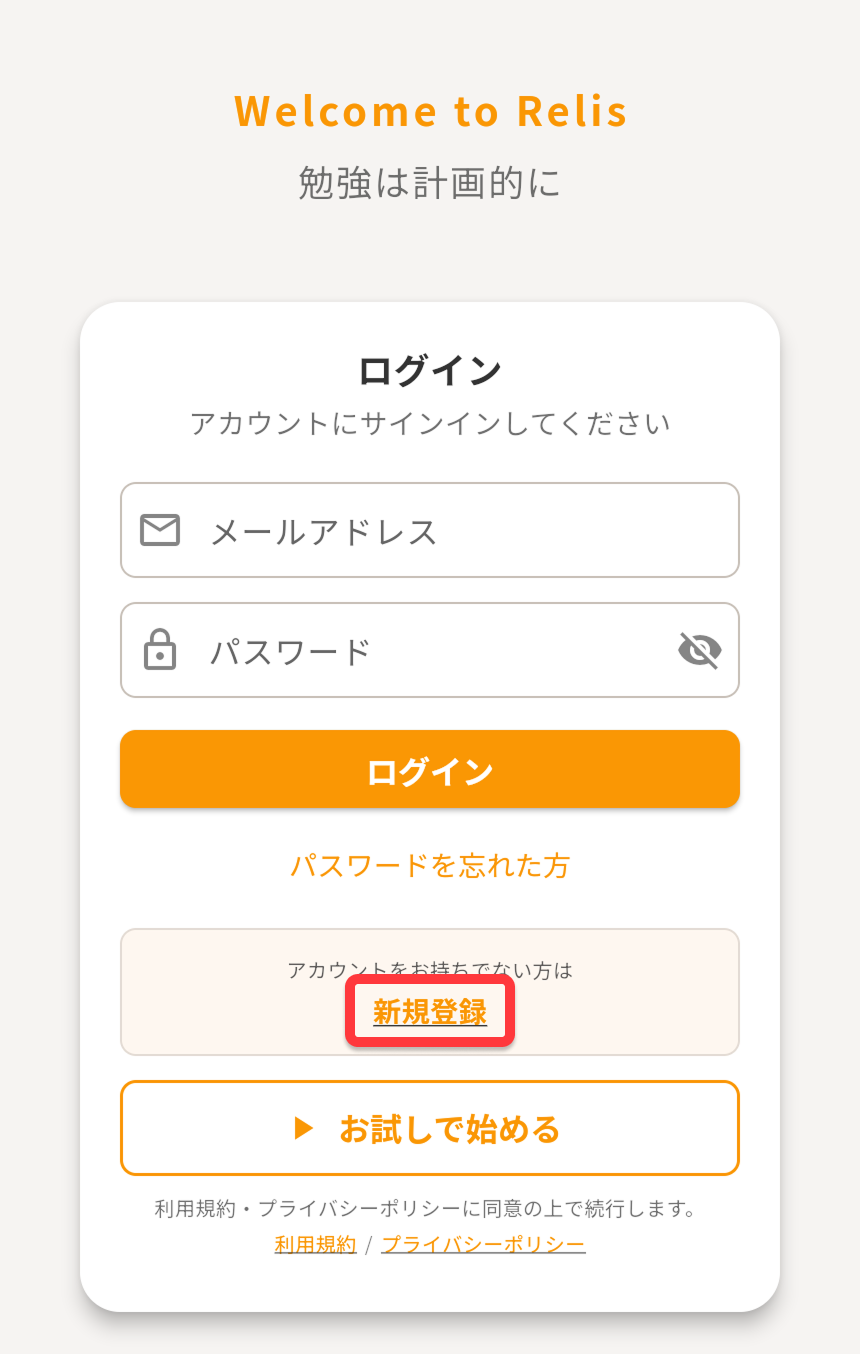
Anonymous accounts have access to all features.
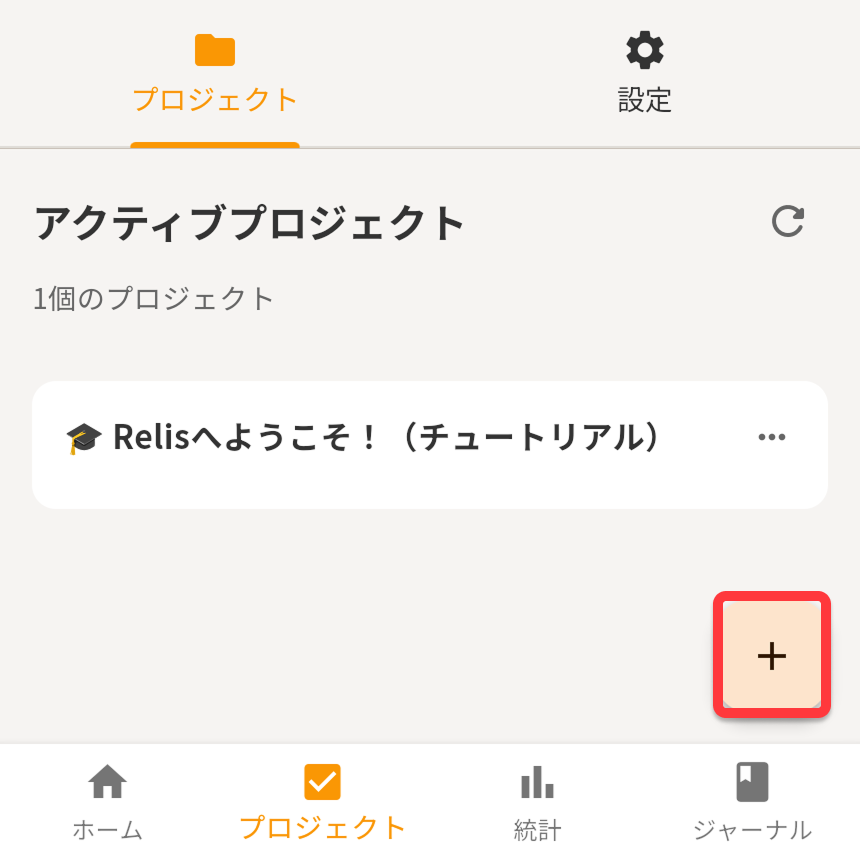
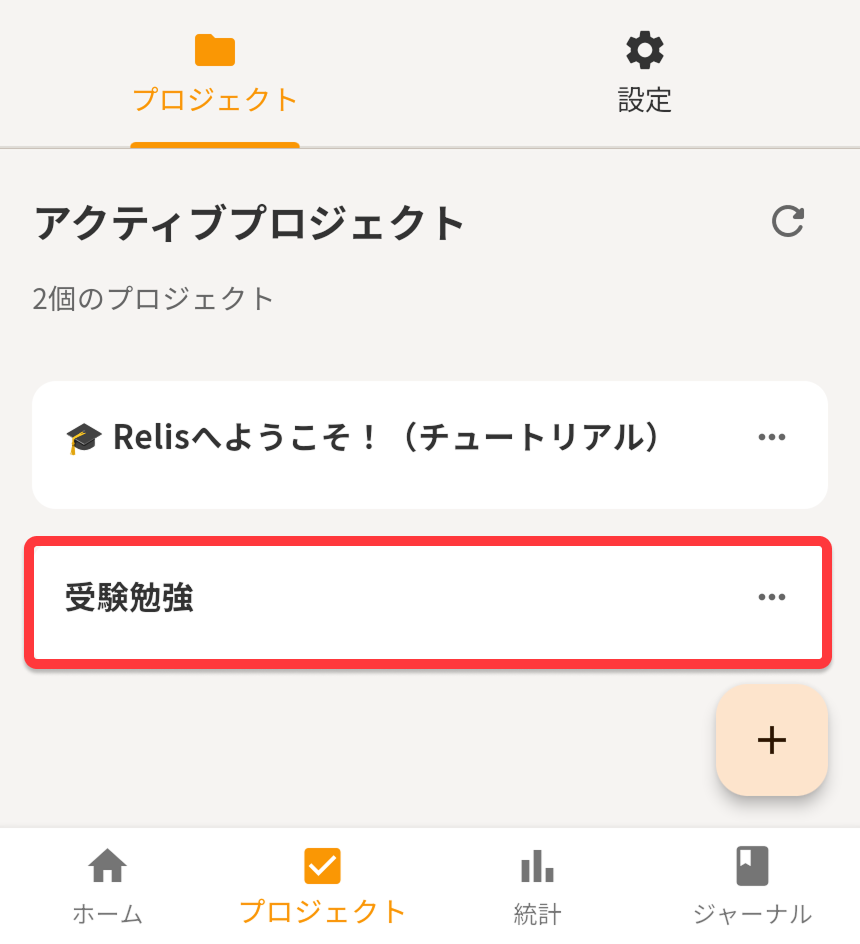
Create a Project
Projects are the top-level unit for grouping related tasks. Create projects for different areas of your life — "Work", "Personal", "Learning", and so on.
Steps
- Open the "Projects" tab
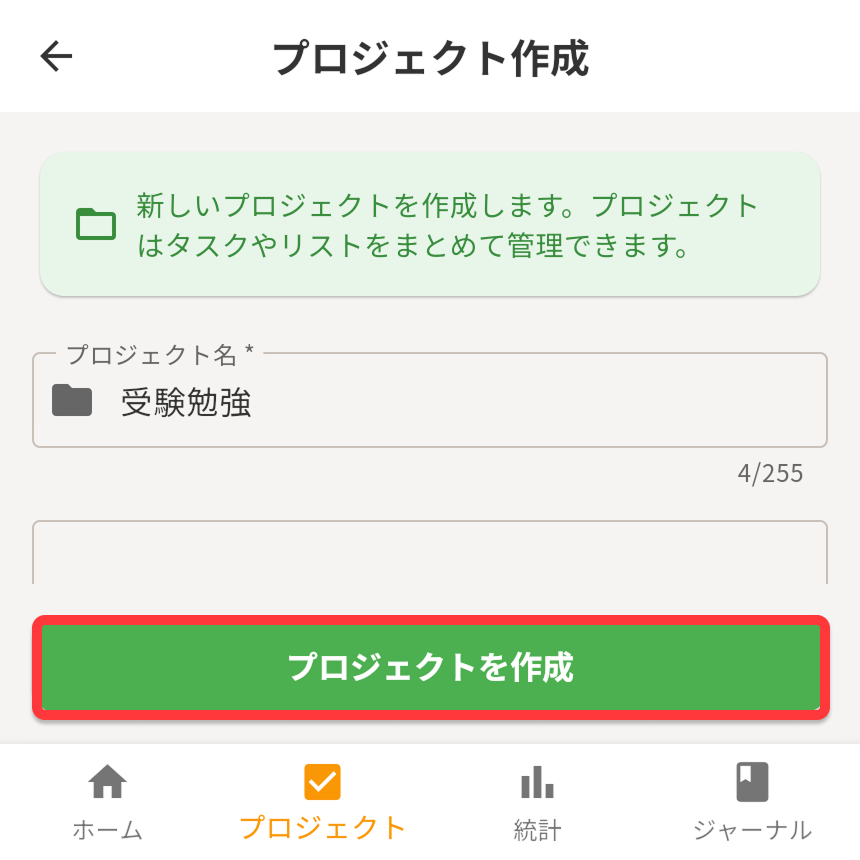
- Tap the "+" button
- Enter a project name (e.g. "Work" or "Hobbies")
- Optionally add a description or deadline
- Tap "Create"
Start with just 1–2 projects and add more as you get comfortable.
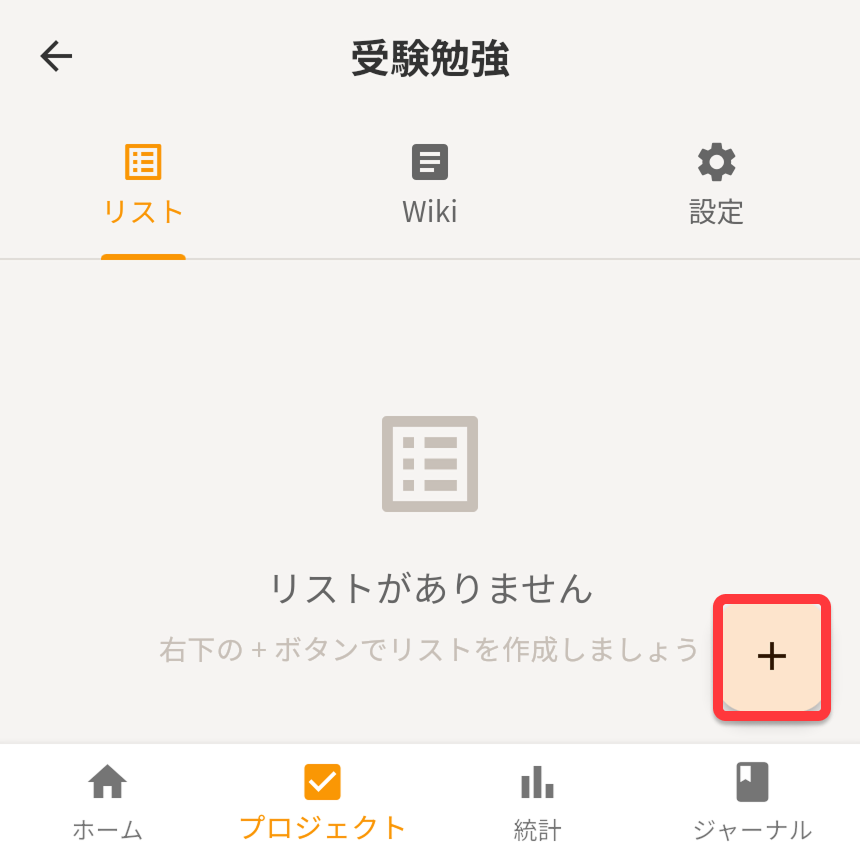
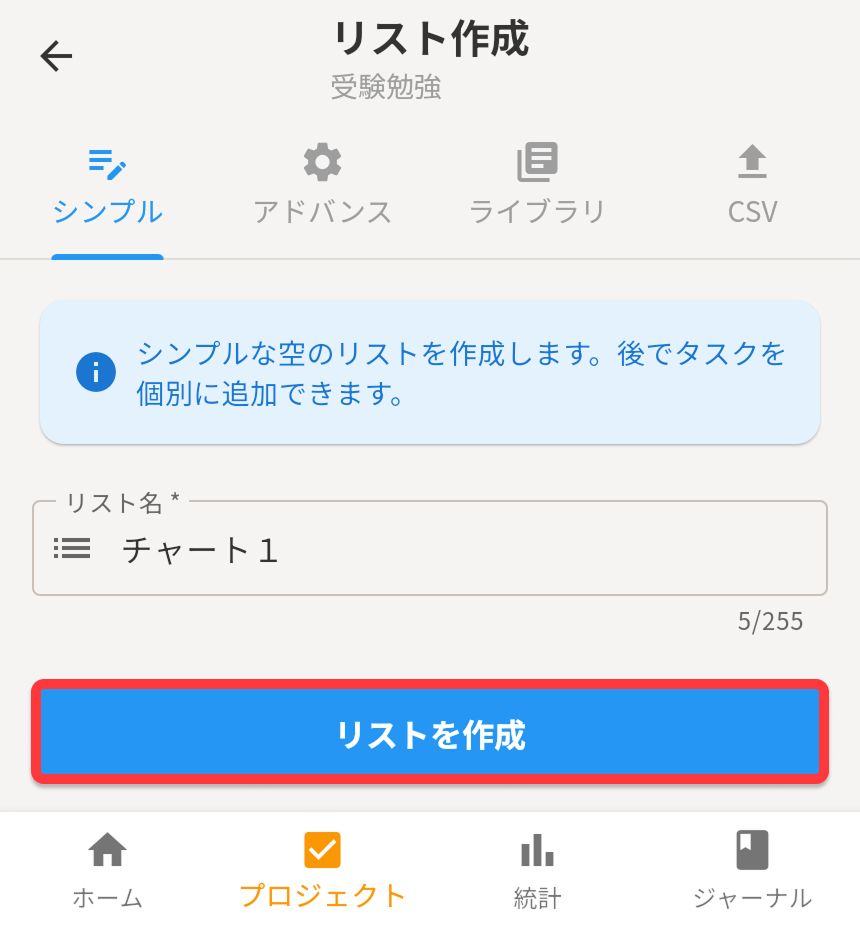
Create a List
Lists sit inside projects and let you group tasks by purpose — "This Week's Tasks", "Shopping List", and so on.
Steps
- Tap the project you just created to open it
- On the "Lists" tab, tap the "+" button
- Enter a list name (e.g. "This Week's Tasks")
- Tap "Create"
Lists also support recurring tasks, so they're perfect for building daily habits and routines.
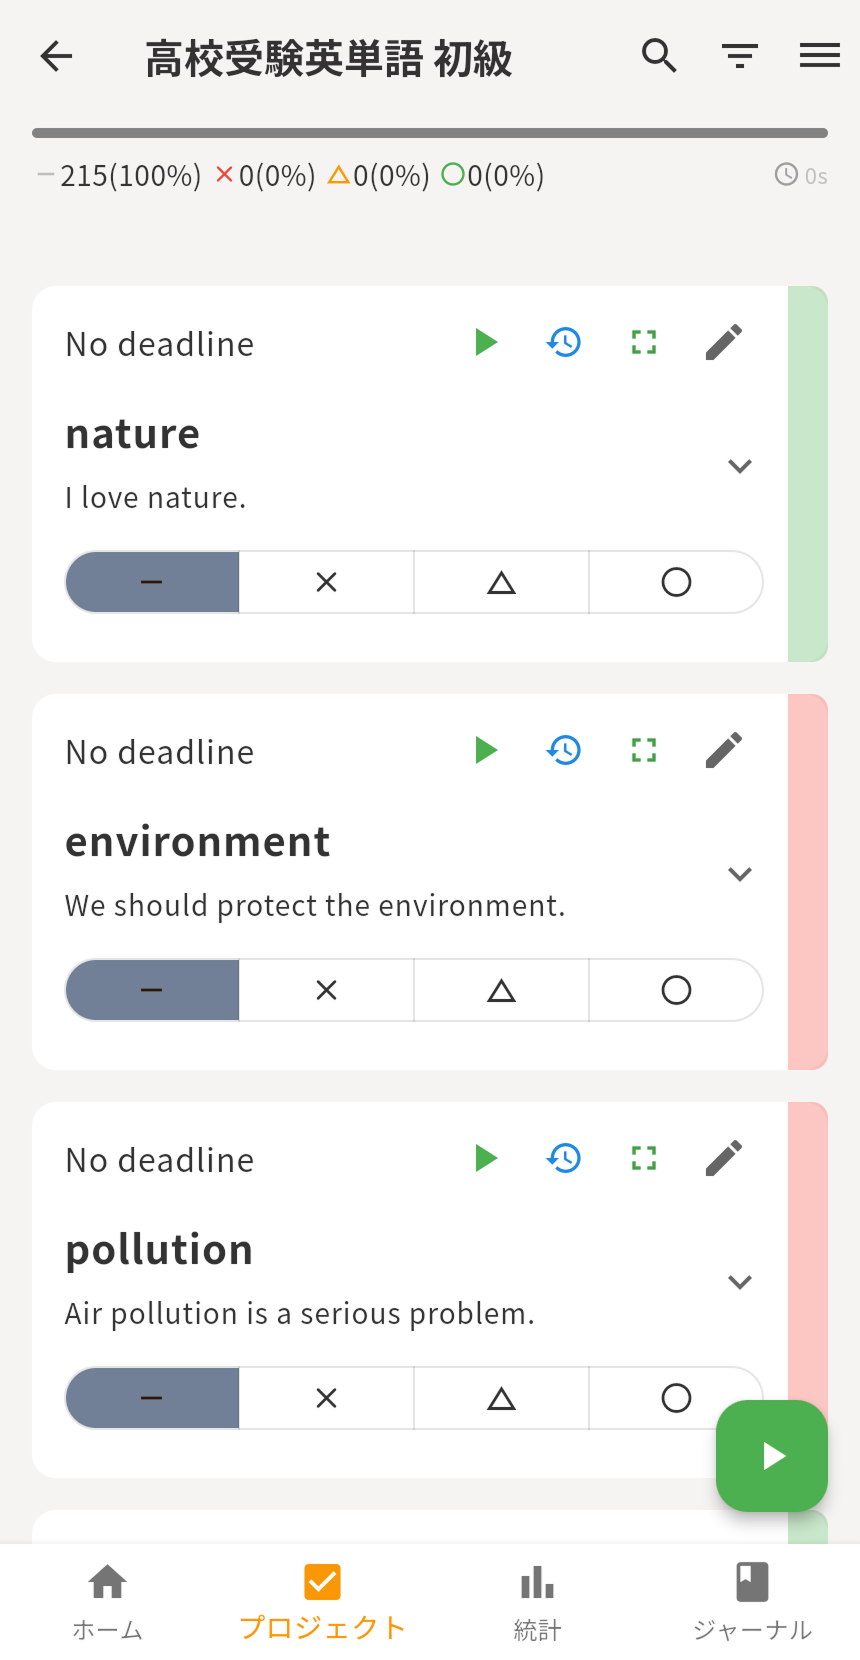
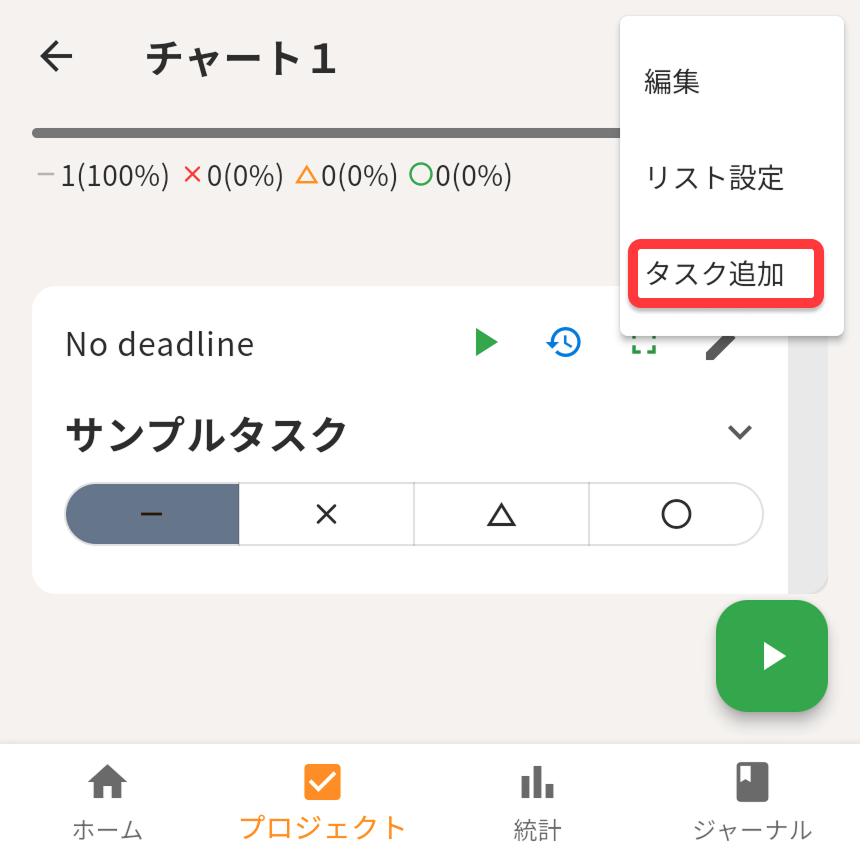
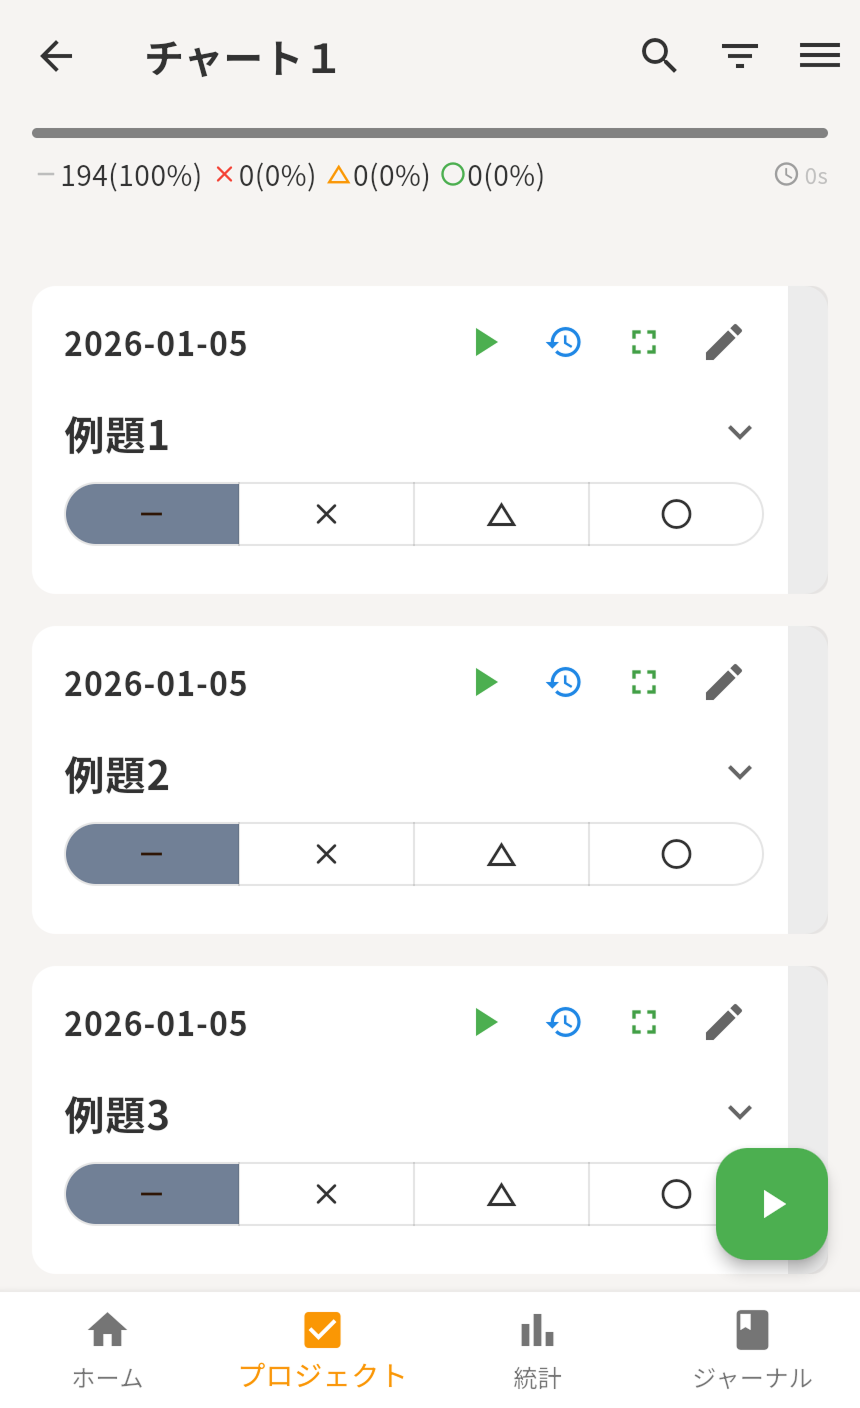
Add Tasks and Get Started
Add tasks to your list and start using Relis. Tasks are also called "particles" and offer flexible configuration options.
Steps
- Open a list and tap the "+" button
- Enter a task name (e.g. "Prepare the report")
- Optionally set a due date, priority, or category
- Tap "Create"
- Tap the checkmark when you finish the task
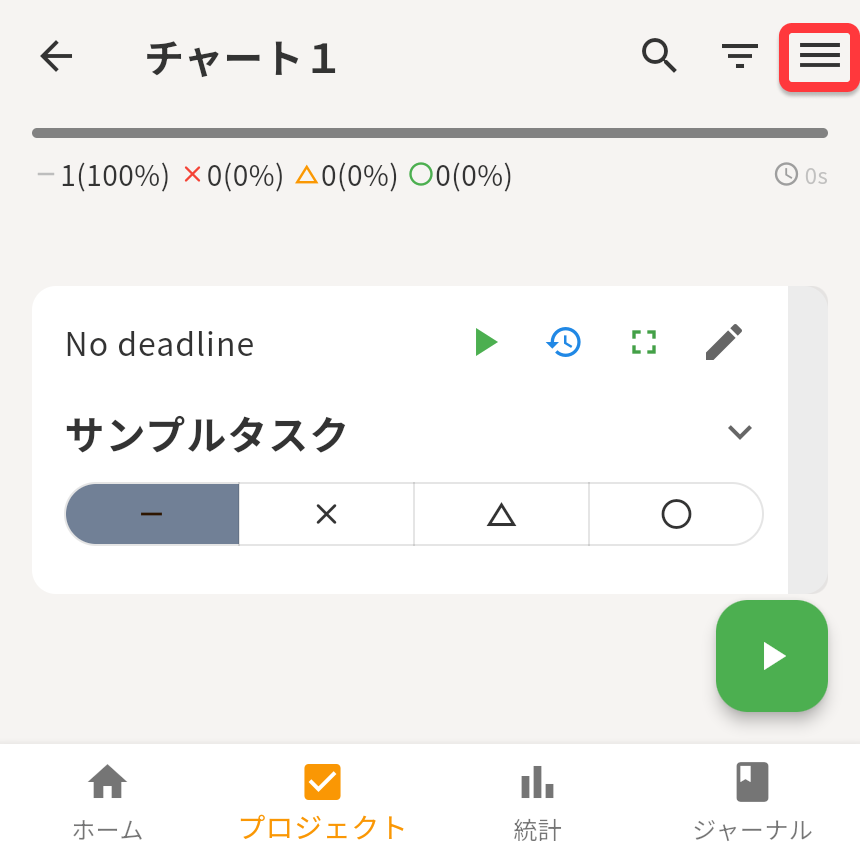
The "Today" tab automatically shows everything due today. We recommend making it your daily starting point.
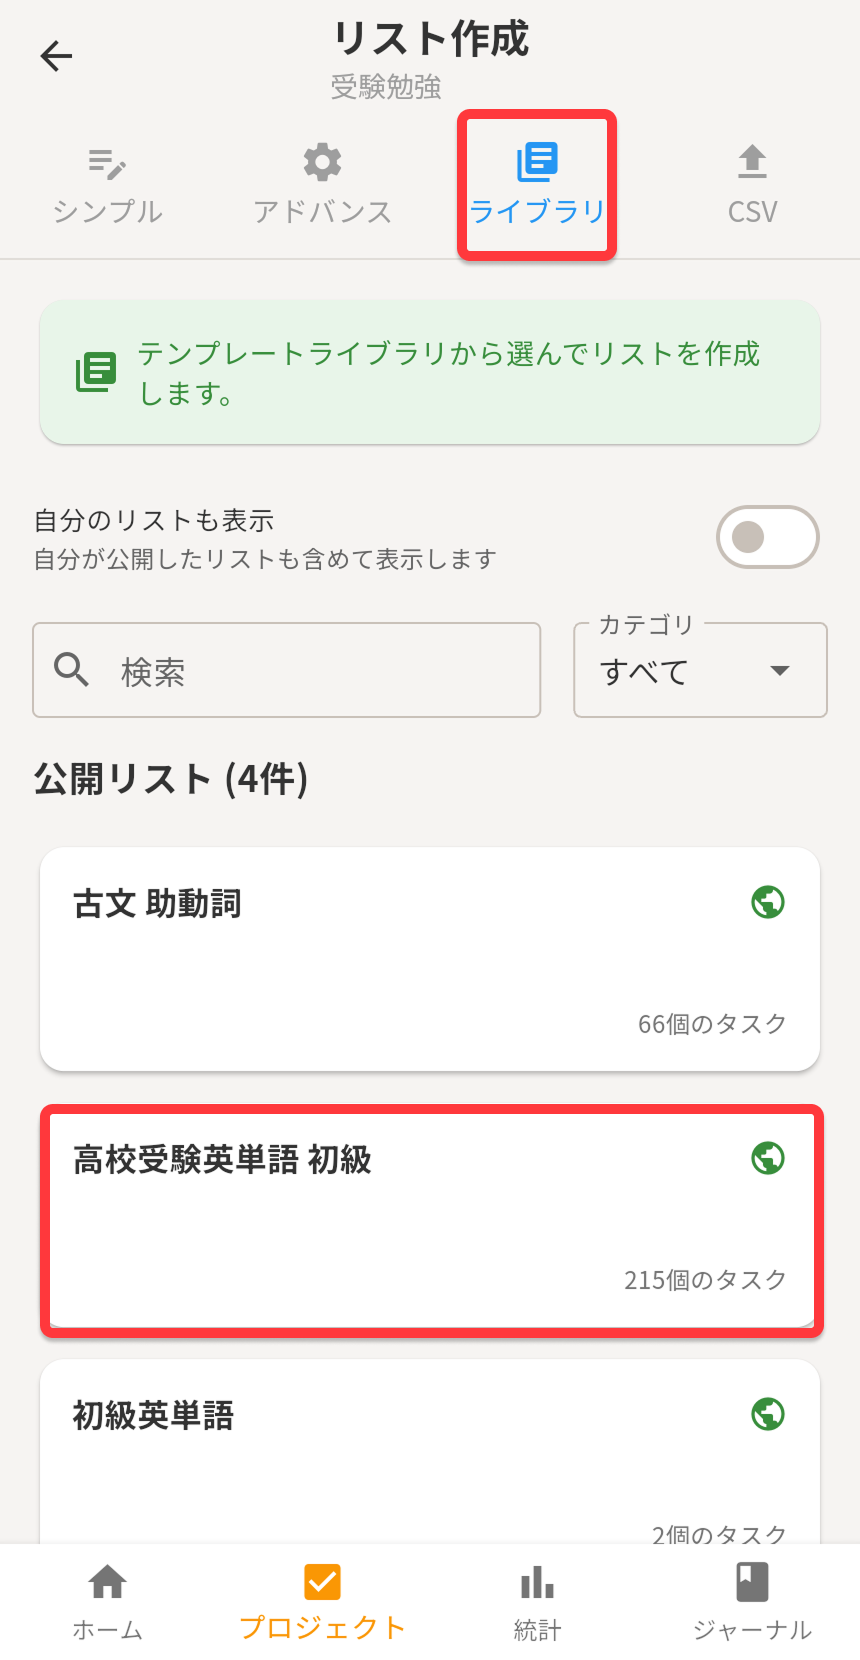
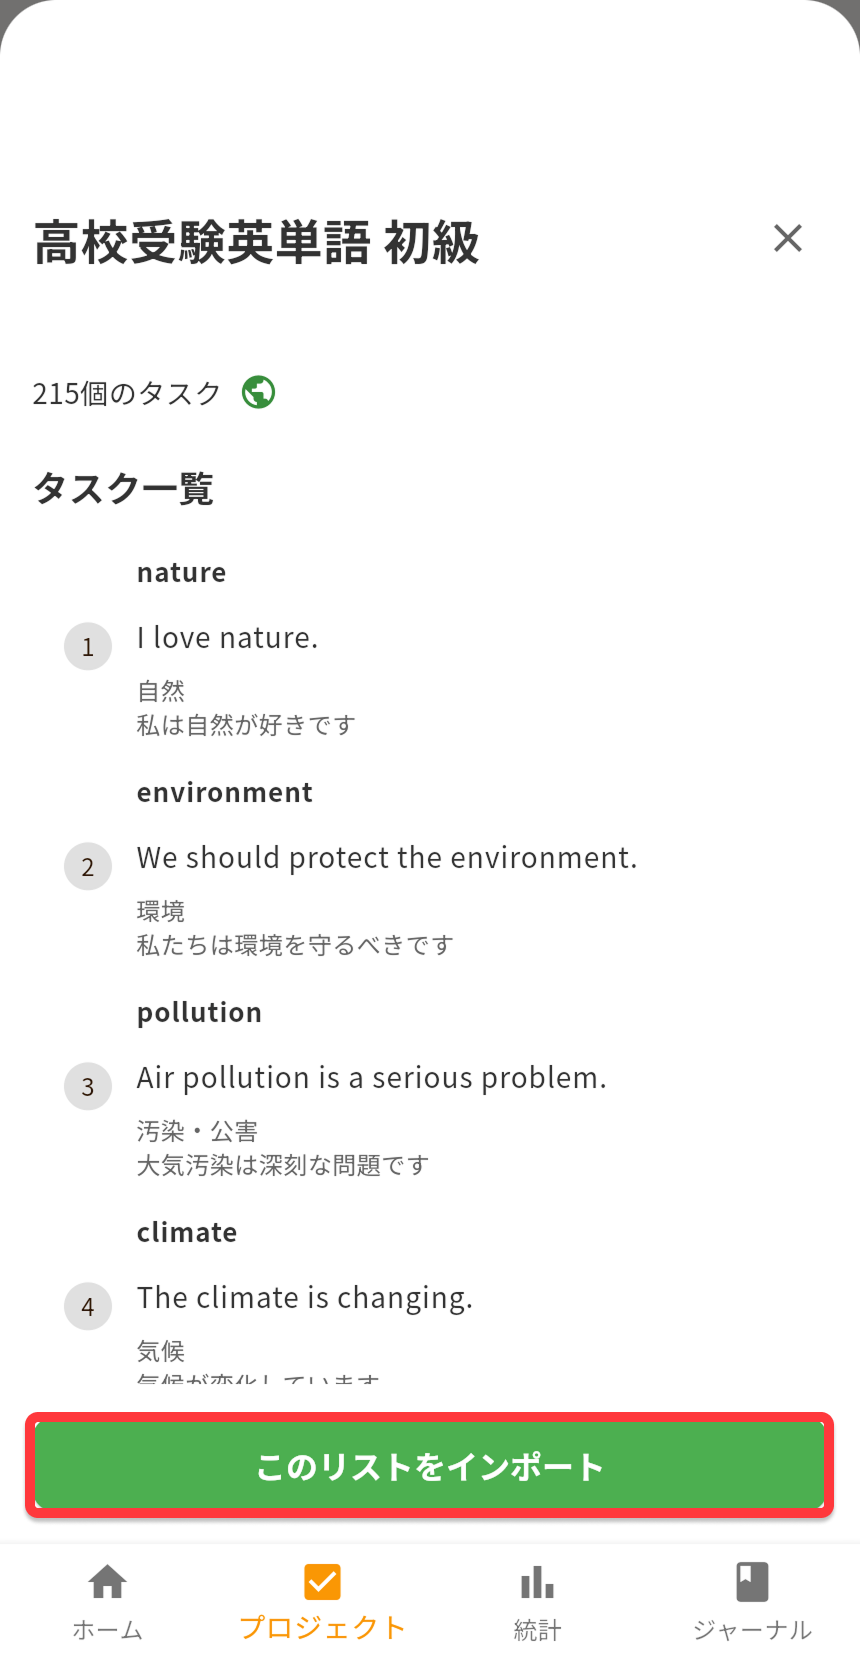
📚 Not sure where to start? Try the Library
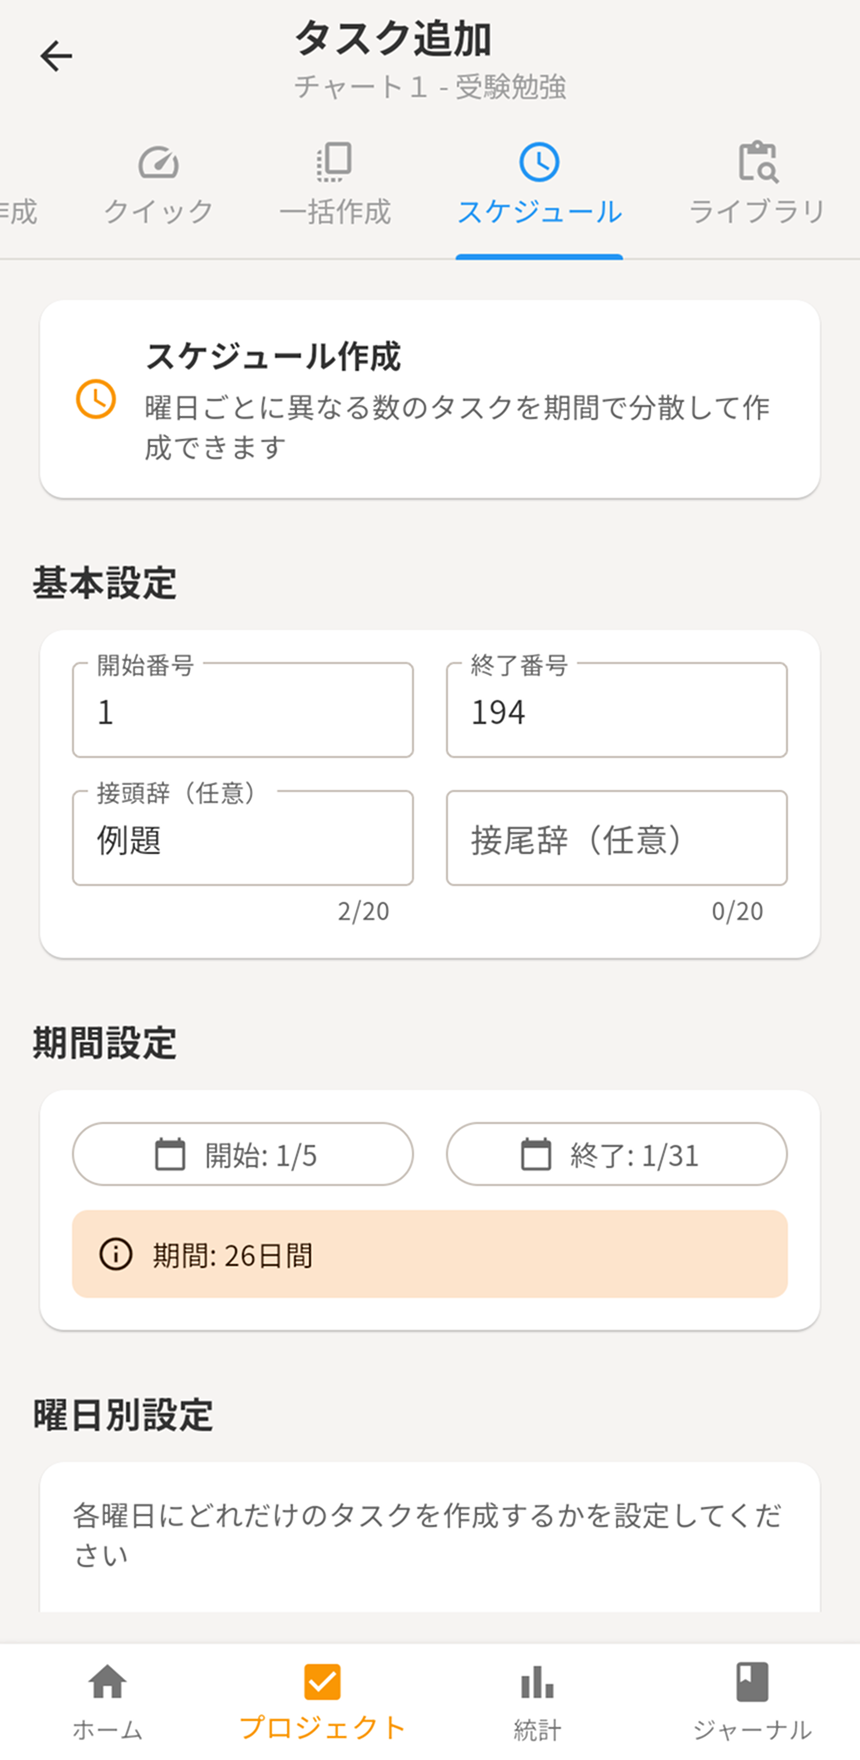
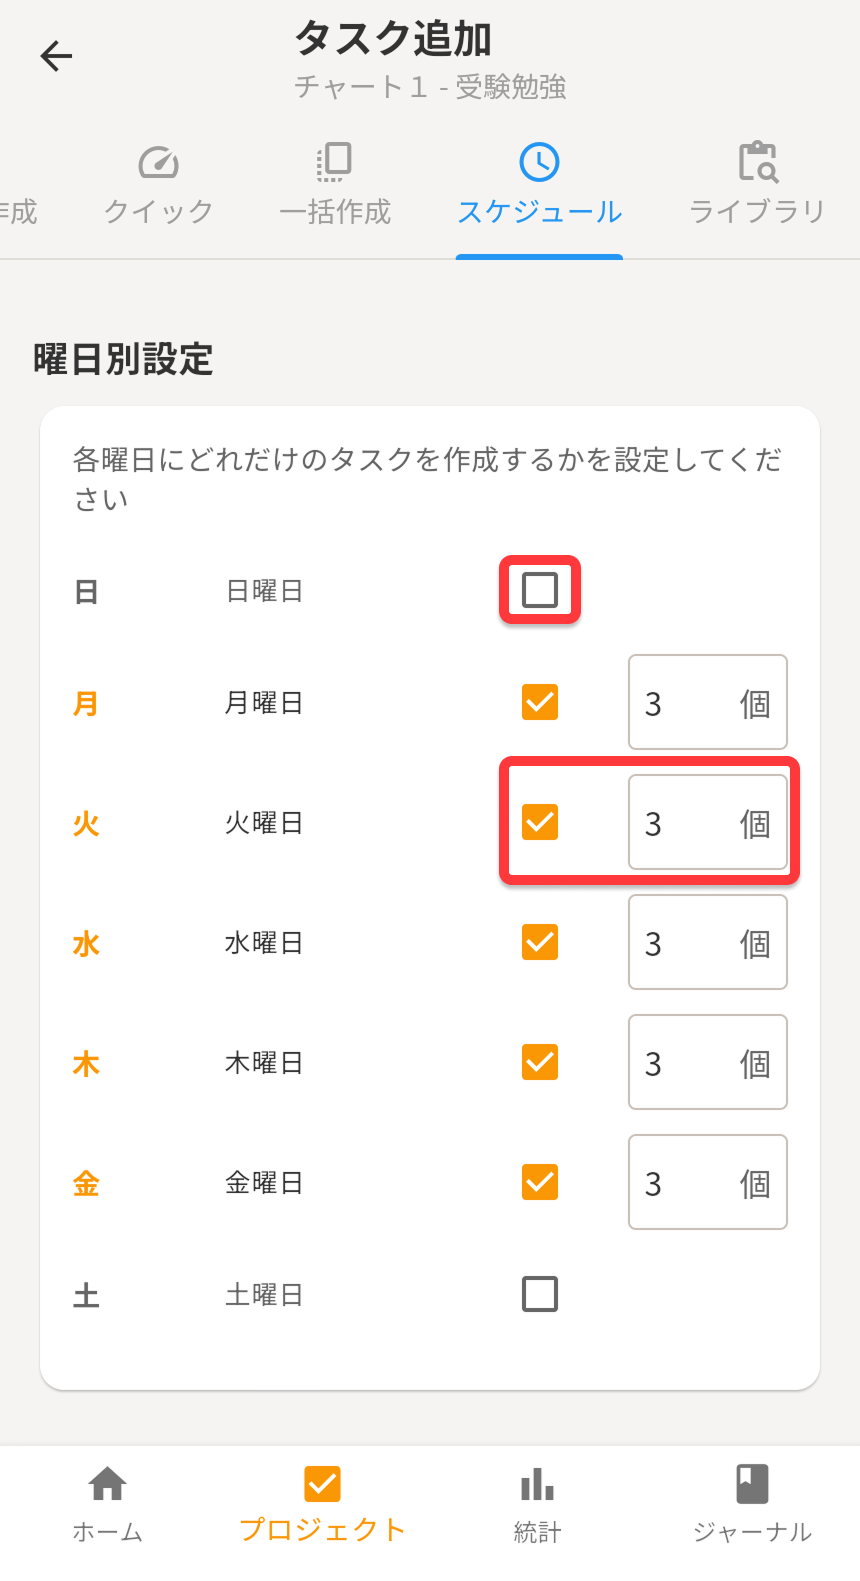
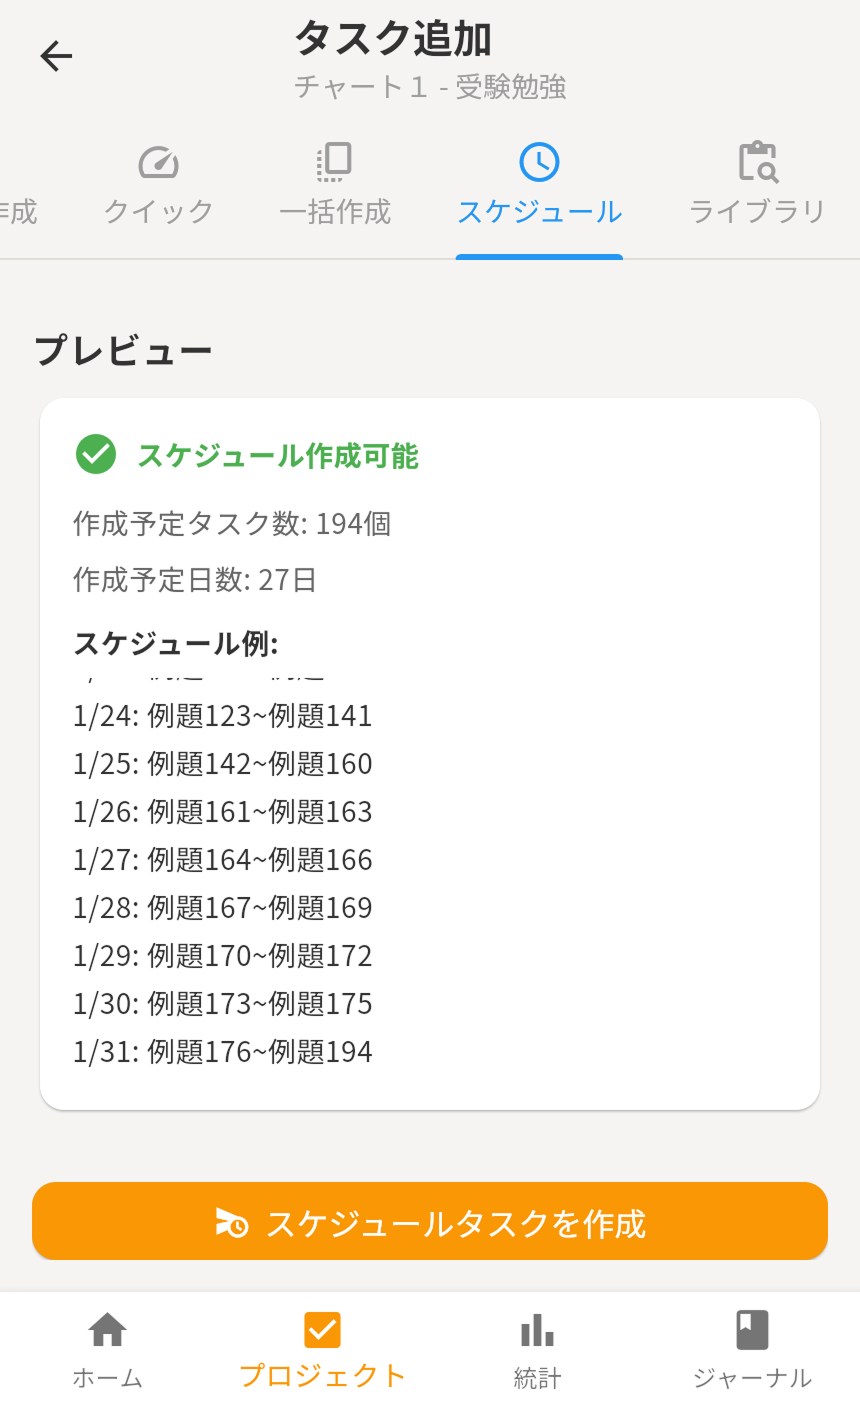
If creating tasks from scratch feels like a lot, check out the Library feature. You can save templates of frequently used tasks, or import templates created by the community.