
Quick Start Guide
Start learning in 4 steps
Welcome to Relis!
This guide takes you from sign-up to your first "today" list in four steps.
Estimated time: about 5 minutes
Sign up and tell Relis what you want to learn
Open the app (or the browser version) and sign up with your email address. On the first screen after sign-up, tell Relis what you want to learn. If a suitable public list exists, it is imported; otherwise AI builds your first study set.
Steps
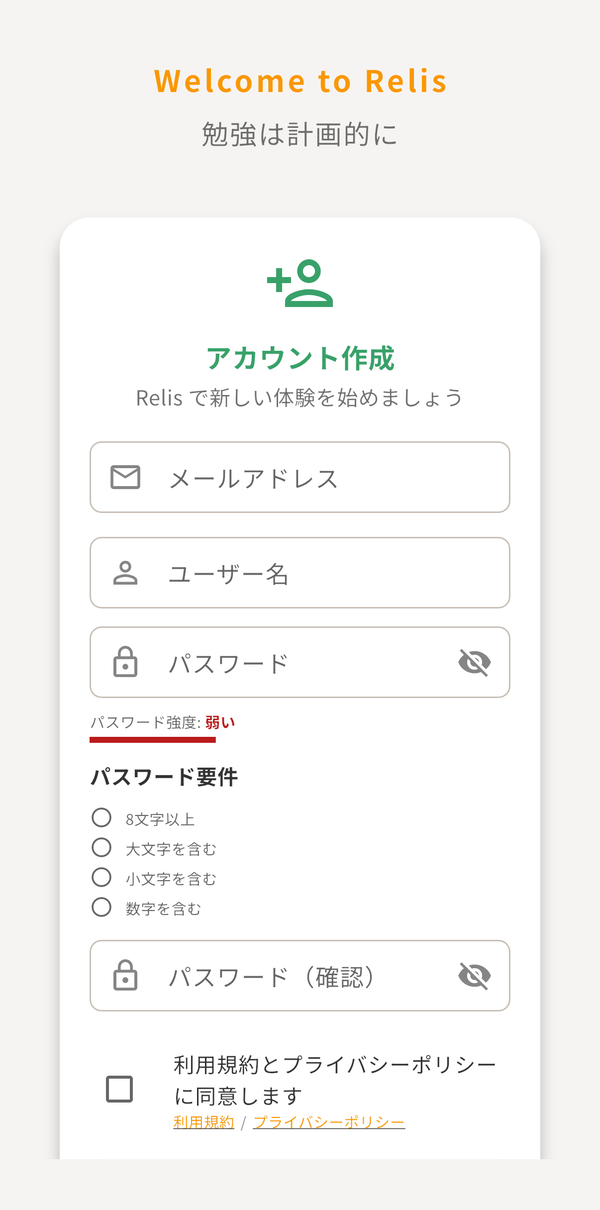
- Launch the app, open the sign-up form, enter your email address, username, and password, and agree to the Terms and Privacy Policy
- Open the link in the confirmation email
- On "What do you want to study?", enter a topic (or tap a suggestion such as "TOEIC")
- Tap "Have AI build my study set" (your study set comes from either an imported public list or AI generation)


Start from Today
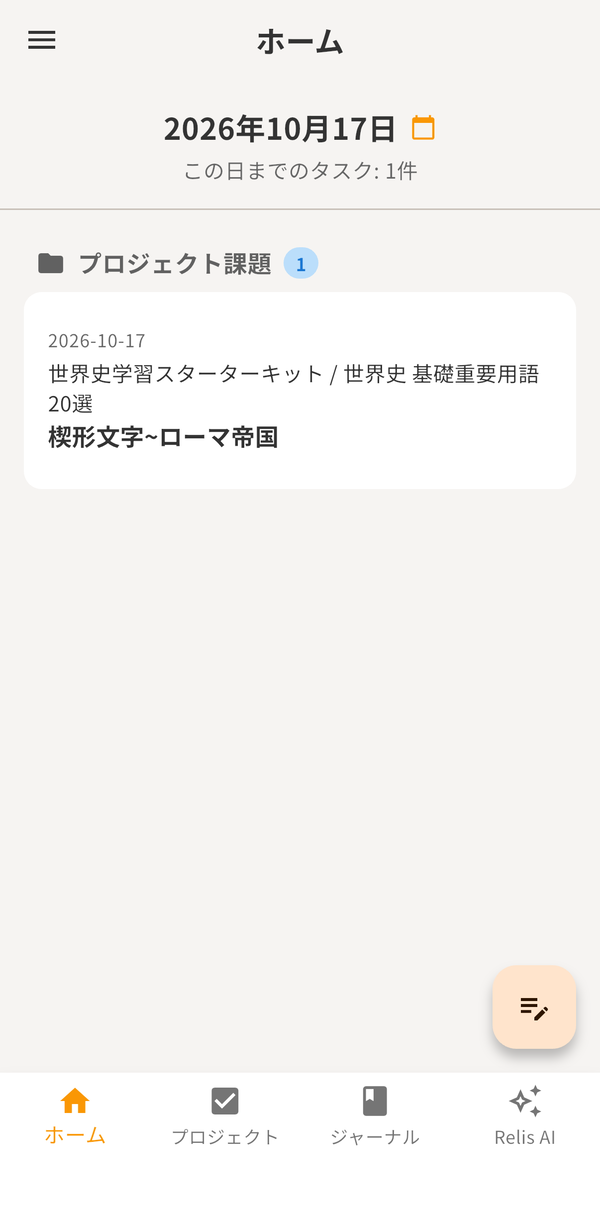
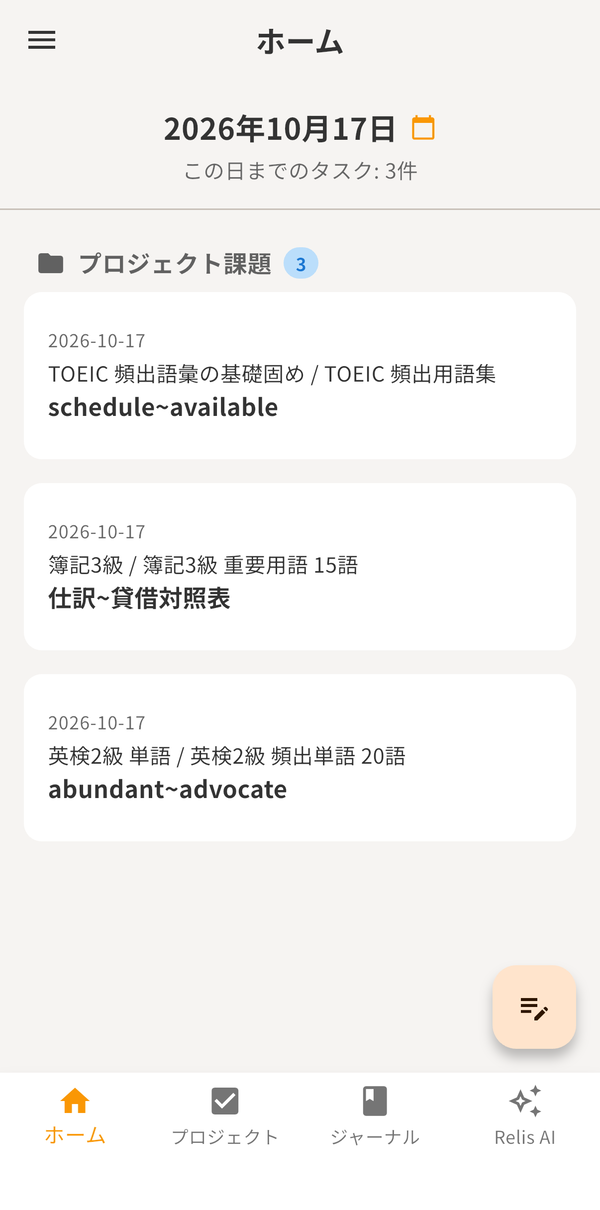
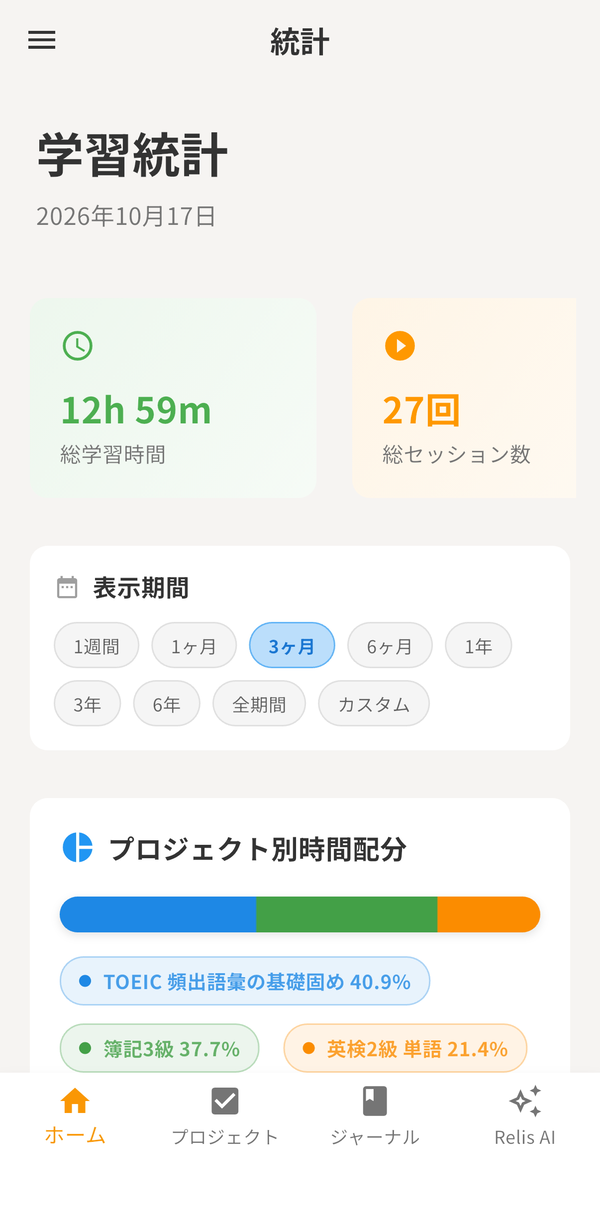
Open Home and you see everything due today (including anything overdue) across all your lists. You do not have to decide where to start.
Steps
- Find today's items under "Project tasks" on Home
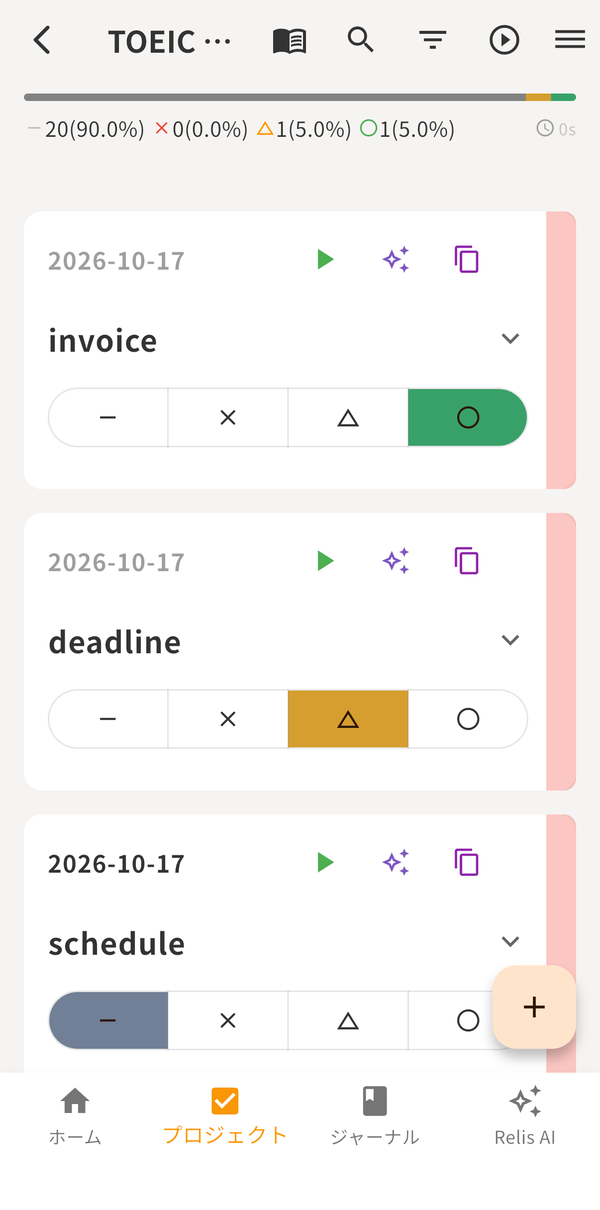
- Open an item and study
- Record how it went for each item with ○ / △ / ×
Ask Relis AI when you are stuck
The AI assistant inside the app looks at your data and takes over the planning.
Steps
- Open the "Relis AI" tab
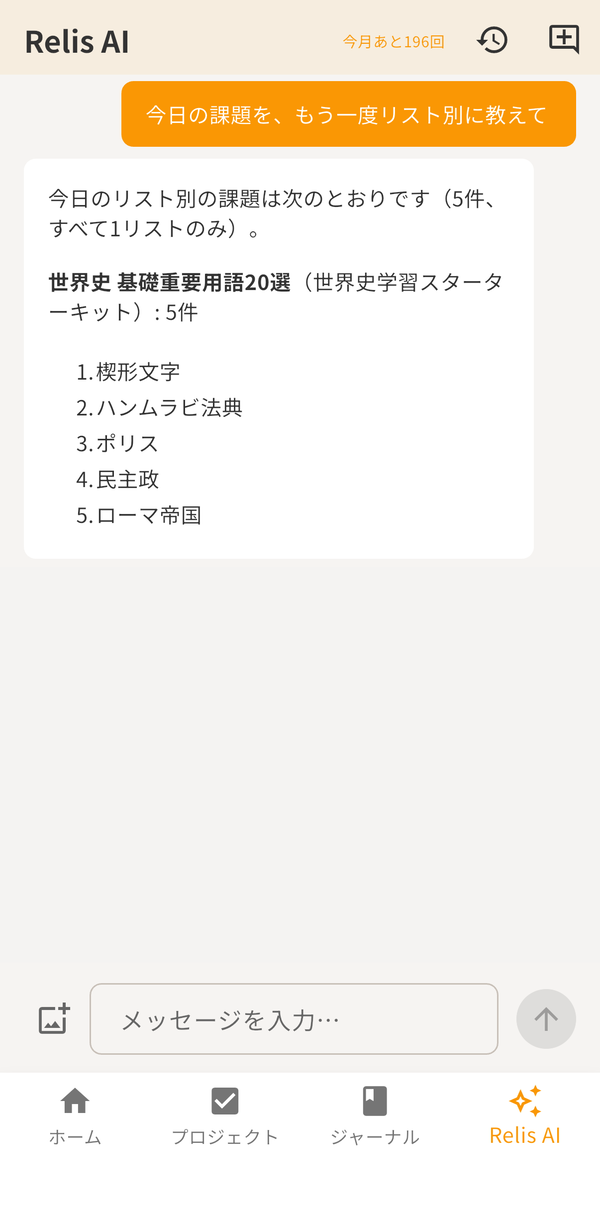
- Send "What is due today?" and it answers across all lists, overdue items included
- Ask it to build things, such as "Create 20 Eiken Grade 2 words as a new project"
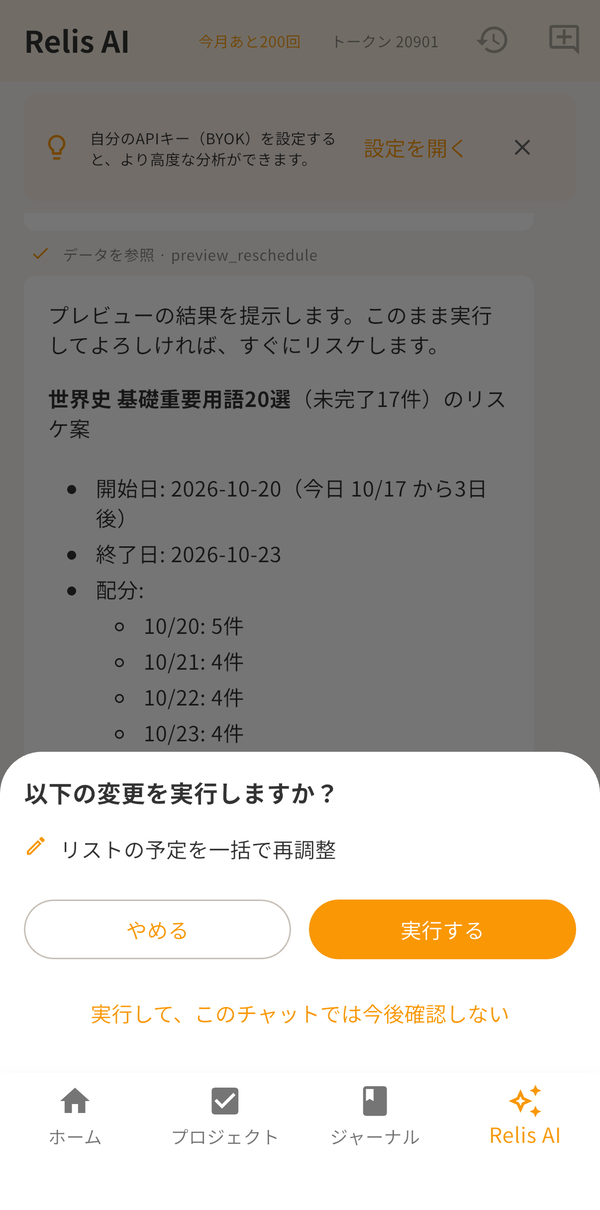
- When you fall behind, ask it to reschedule (you confirm the change first)
Import a public list, or build your own
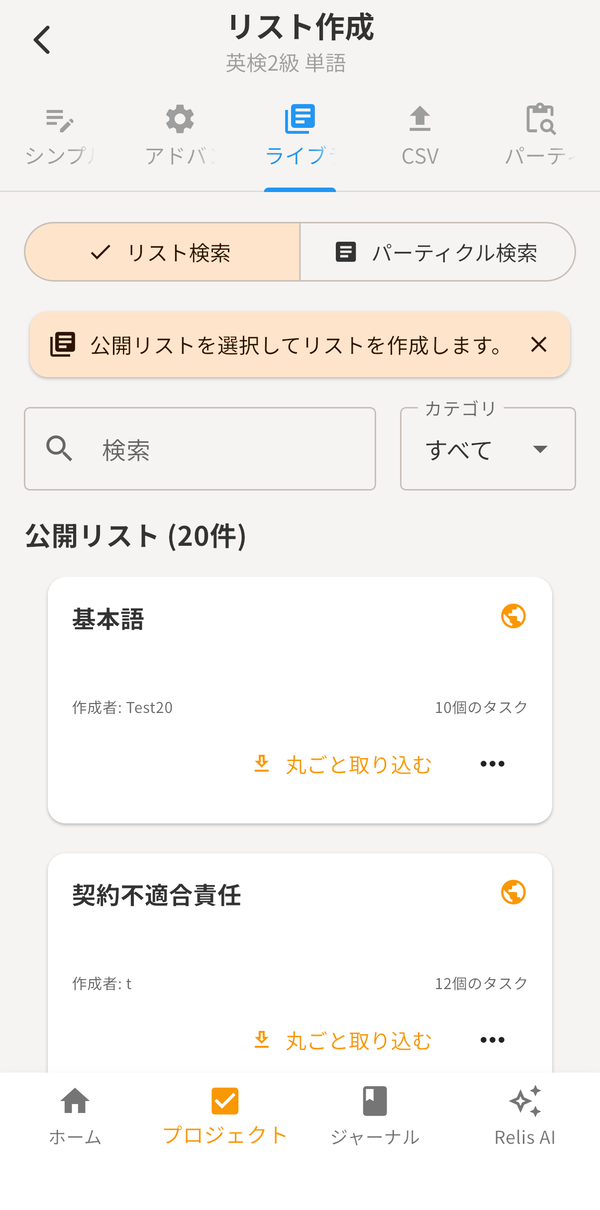
When building study content from scratch feels like a lot, use the Library. You can import lists and packs published by other users into your own project. To build your own, create a list inside a project and add items.
Steps
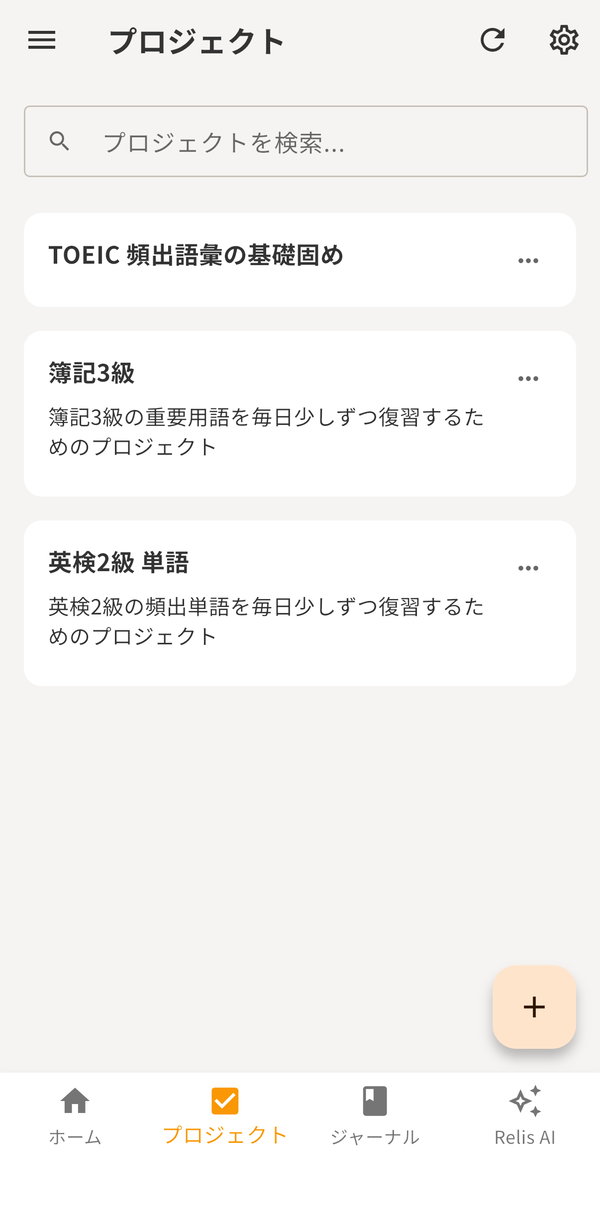
- Choose a project on the "Projects" tab (create one with "+" if you have none)
- Find a public list in the Library and import it
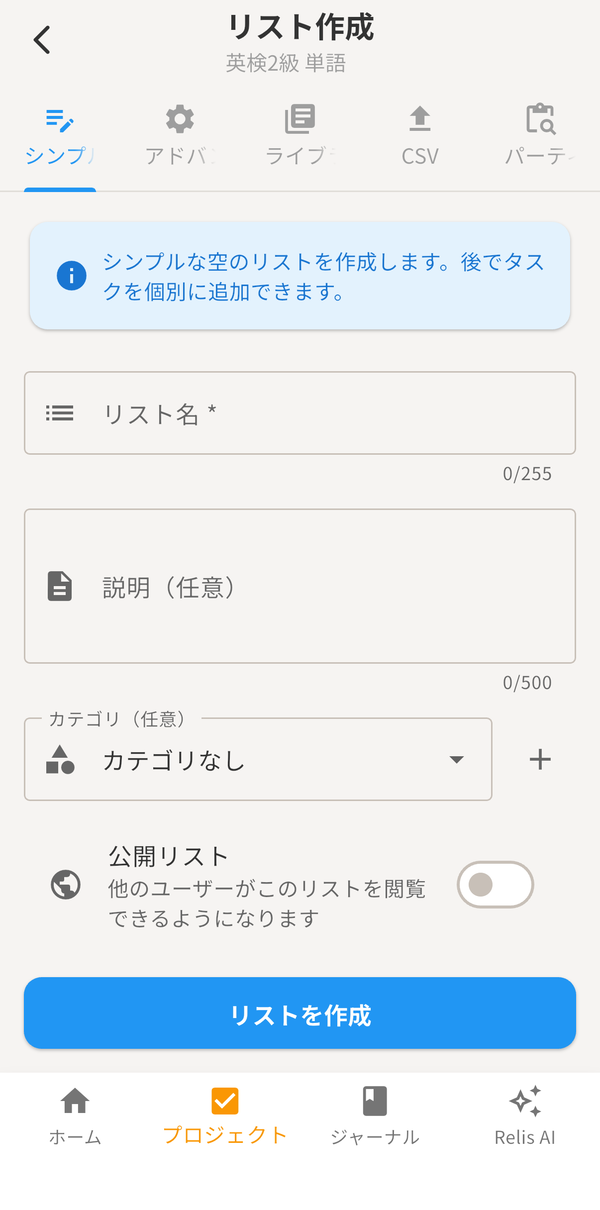
- To build your own, create a list with "+" and add items
- You can also import many items at once from a CSV (see the CSV Templates page)
You're all set!
From here, just open Today each day and record how it went.